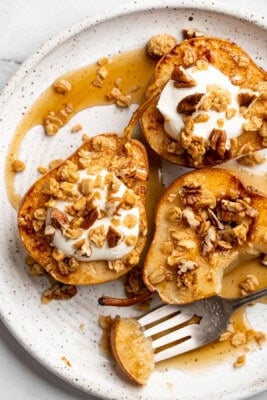
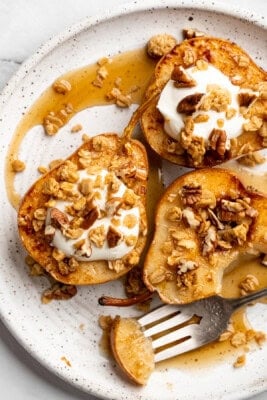
Got a few minutes? Make these cinnamon baked pears. Perfectly caramelized in a glossy sauce of maple syrup, cinnamon, and their own sweet juices, these warm, fork-tender pears are everything. Top ’em with coconut cream and crunchy granola, and tell me you haven’t found your new favourite fall dessert.
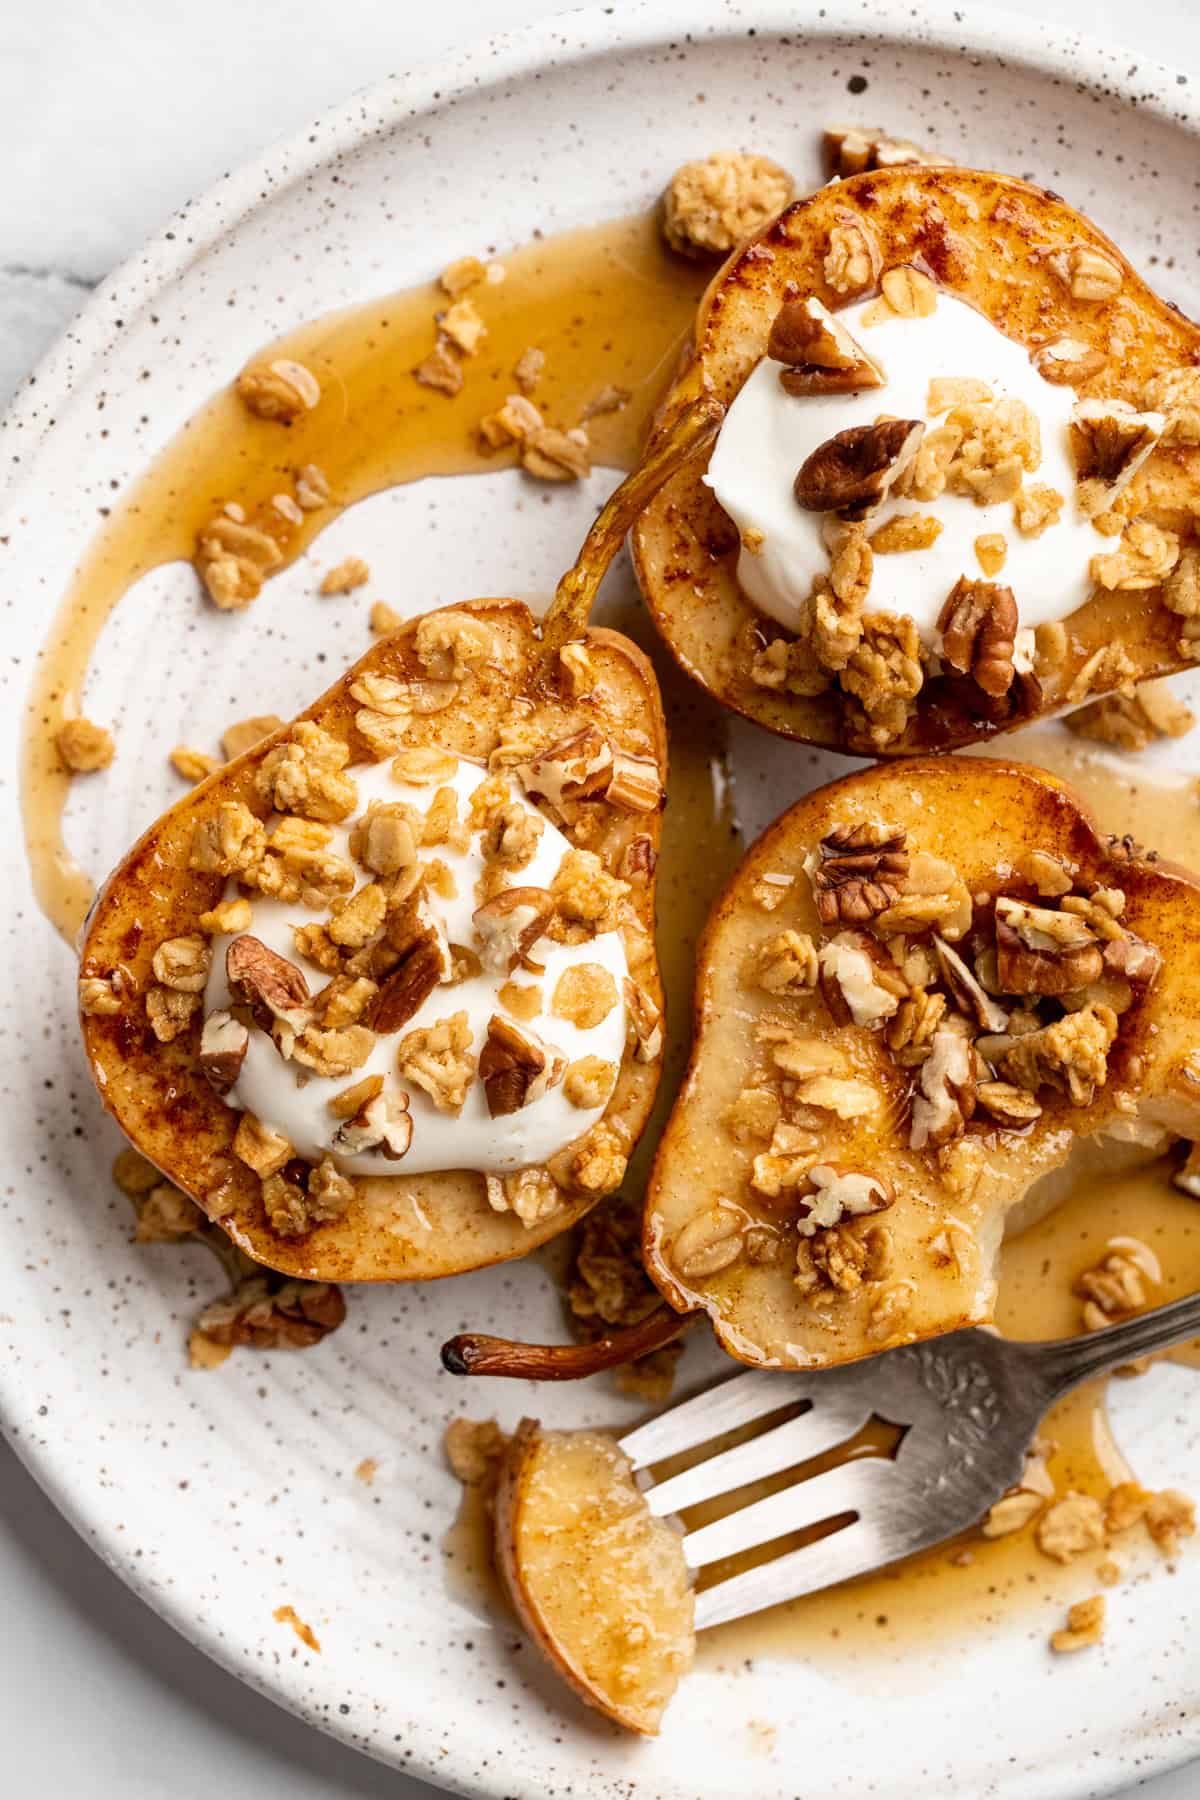
I love simple recipes that take a few everyday ingredients and transform them into something spectacular. This cinnamon baked pear recipe is the perfect example. It literally only requires three ingredients, and each and every one of them screams “It’s fall, y’all!” Seasonal pears? “Fall!” Warming cinnamon? “Fall!” Rich, caramel-y maple syrup? “Fall!” See what I mean? When these three autumn favourites come together, something magical happens.
The pears release their juices as they bake in the hot oven, and those juices mingle with the sweet maple syrup and cinnamon, bubbling and caramelizing until the fruit is tender, sticky around the edges, and glazed in its own juices. Topped with a little coconut cream and crunchy granola, it’s the dessert of the season. Heck, I’ll sometimes even have these for breakfast over my morning oats.
Why Baked Pears Are the Perfect Fall Treat
Fall is fully upon us, and this dessert (slash breakfast treat) is begging for your attention. Here’s why you’ve got to try it:
- The caramelization on these pears is out of this world. With the natural sugars from the pears (and a little help from maple syrup) and the heat of the oven working together, the edges of the pears turn a beautiful golden brown, and the juices thicken slightly into a sweet, cinnamon-spiced glaze.
- I love the contrasting flavours and textures in this dessert. The way the soft, melt-in-your-mouth pears butt up against the granola’s crunch is so satisfying. Then you’ve got the cool coconut cream countering the spicy warmth of the cinnamon and mild acidity of the warm fruit. It’s a perfectly balanced dessert.
- Simplicity at its finest here, ladies and gents. With just three ingredients, one baking sheet, and 30 minutes, you’ll be pulling perfectly caramelized cinnamon-maple pears out of the oven. They taste so fancy, though. Like a 5-star restaurant dessert.
Notes on Ingredients
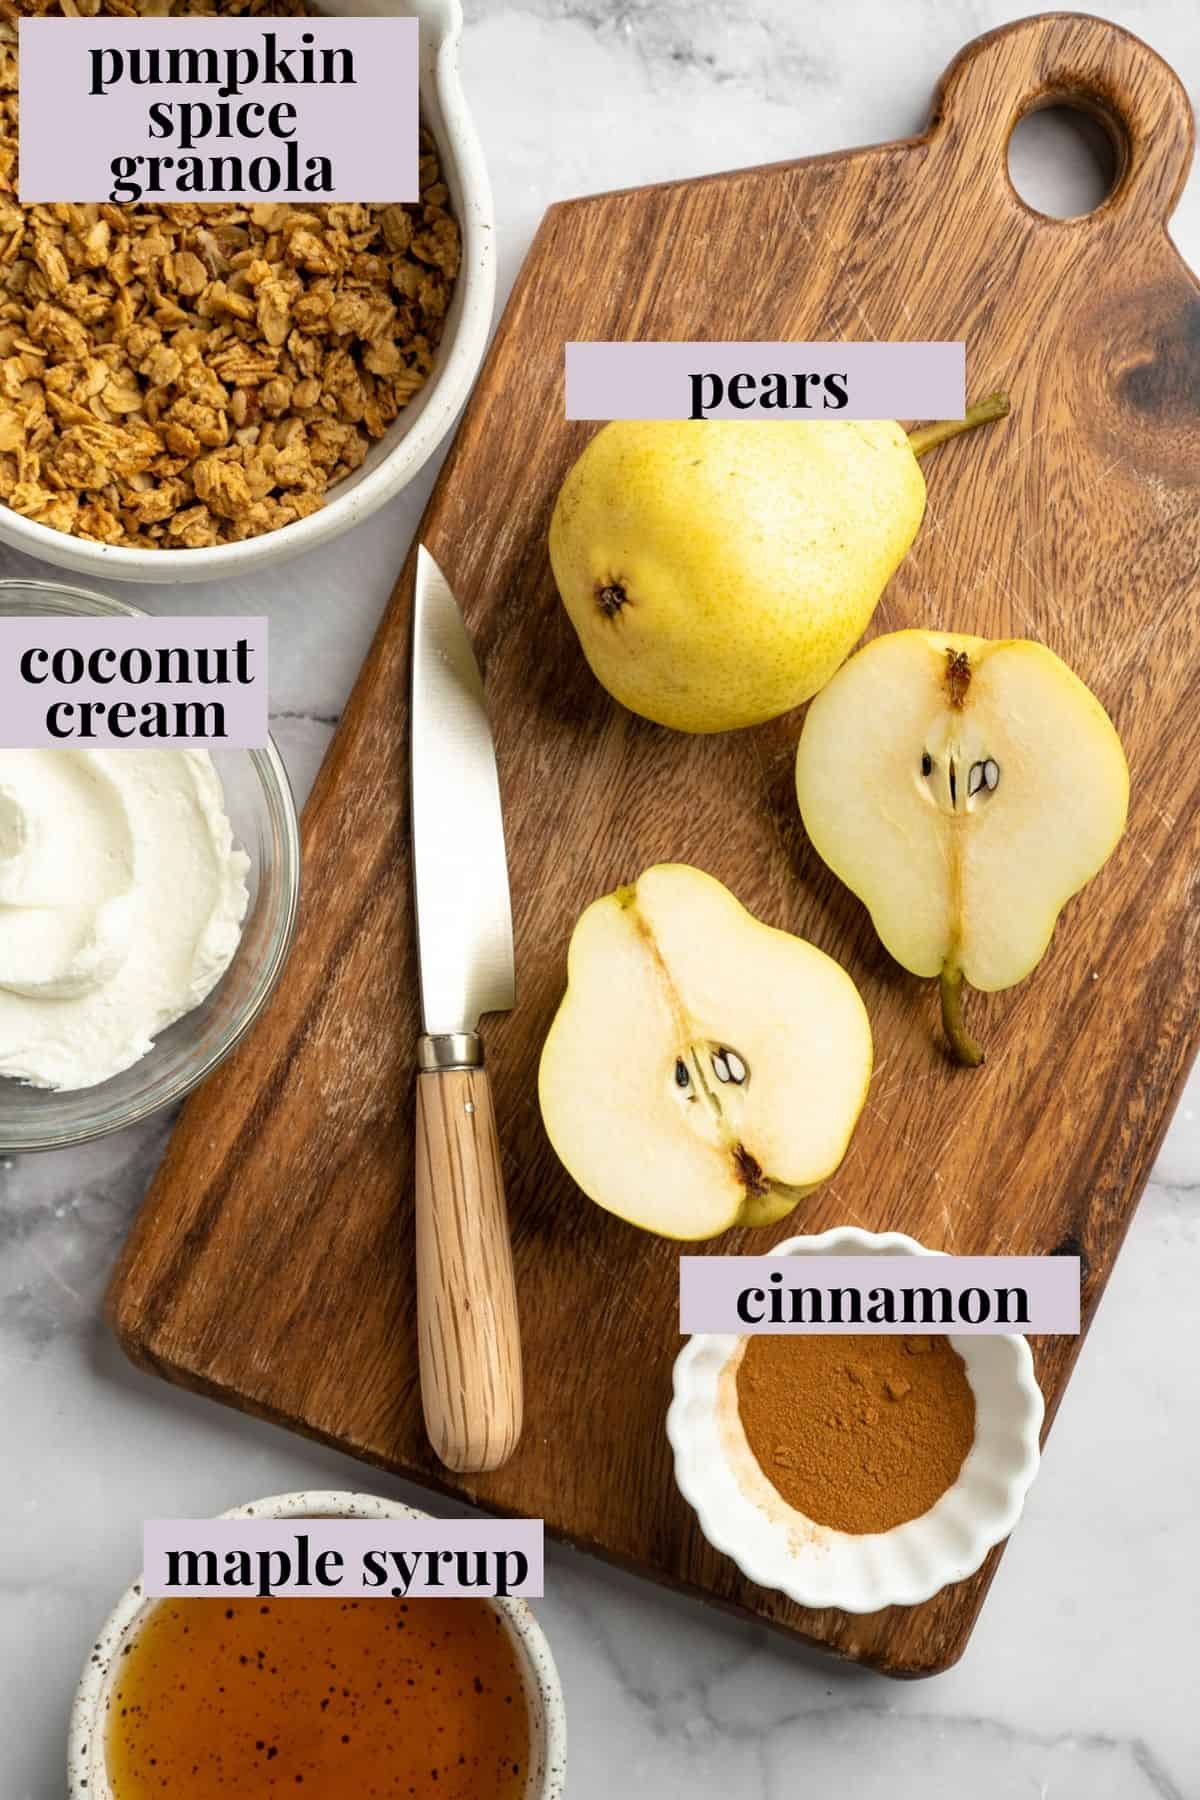
I can’t believe that this recipe only requires 3 ingredients (plus some optional toppings). Amazing. Here they are (see the recipe card for precise measurements):
For the Baked Pears
- Pears – Halved and cored. You can use any pear you prefer here. I’m a big fan of Bosc and Anjou pears because they hold up well to baking without becoming too mushy. If you want that tender, more buttery texture, though, you could try Bartlett pears.
- Cinnamon – This warming spice is perfect for pear roasting. Its inherent sweetness goes perfectly with the caramelization on the roasted fruit.
- Maple syrup – You could use agave or Date Syrup if you prefer. I personally really enjoy the rich, warming sweetness of maple syrup, though. It feels right for those cozy fall days.
Optional Toppings
- Pumpkin Spice Granola – For a crunchy topping. If you prefer Candied Pecans or toasted hazelnuts, be my guest.
- Coconut cream – For a splash of creamy decadence. You could also opt for Coconut Whipped Cream or a Vegan Vanilla Ice Cream.
How to Make Cinnamon Baked Pears
You won’t believe how simple it is to make this elegant dessert. Here’s a quick look (for more detailed instructions, scroll to the recipe card below):
- Preheat the oven. Preheat the oven to 350°F (180°C) and line a baking sheet with parchment paper.
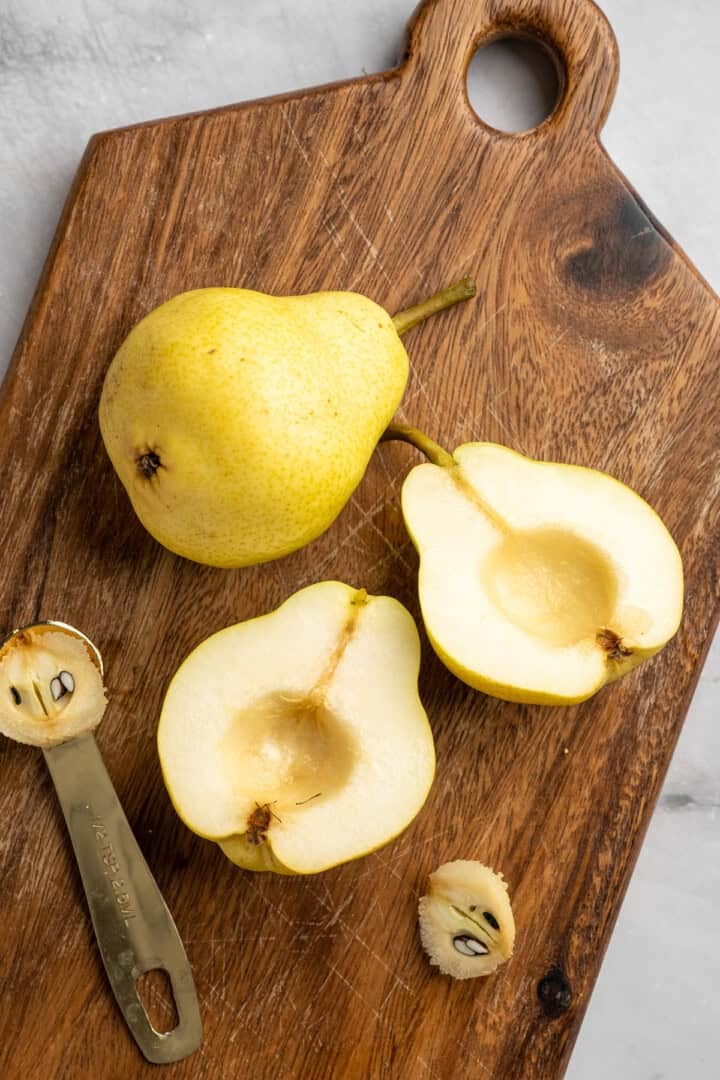
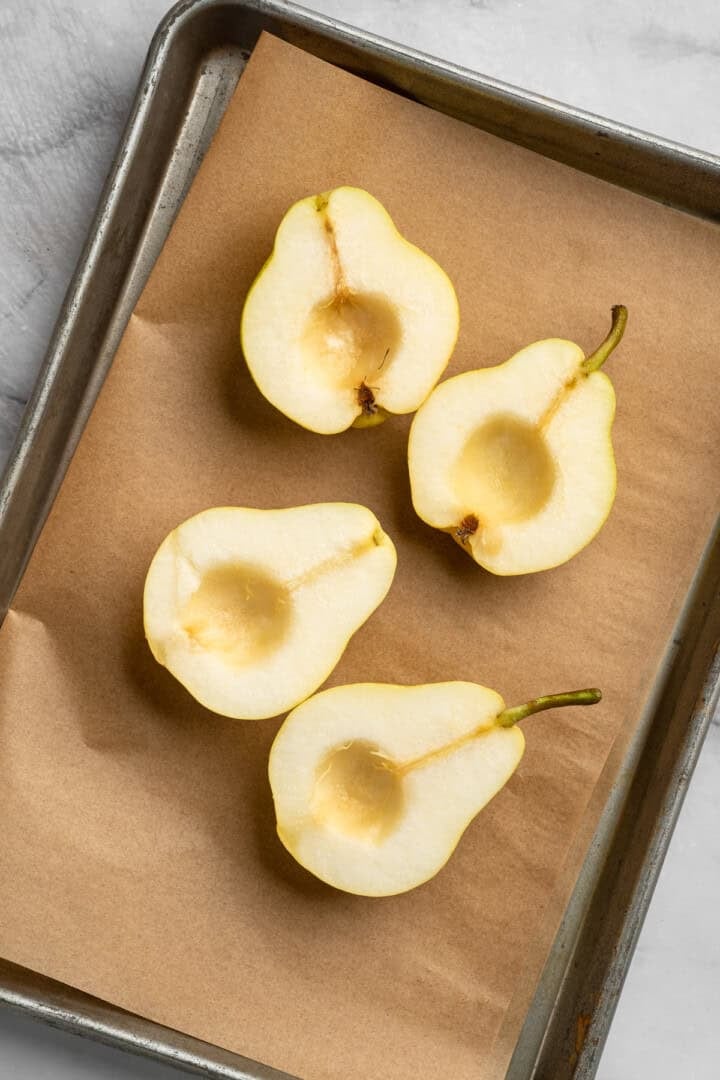
- Prep the pears. Halve and core the pears. Arrange them, cut-side-up, on a baking sheet.
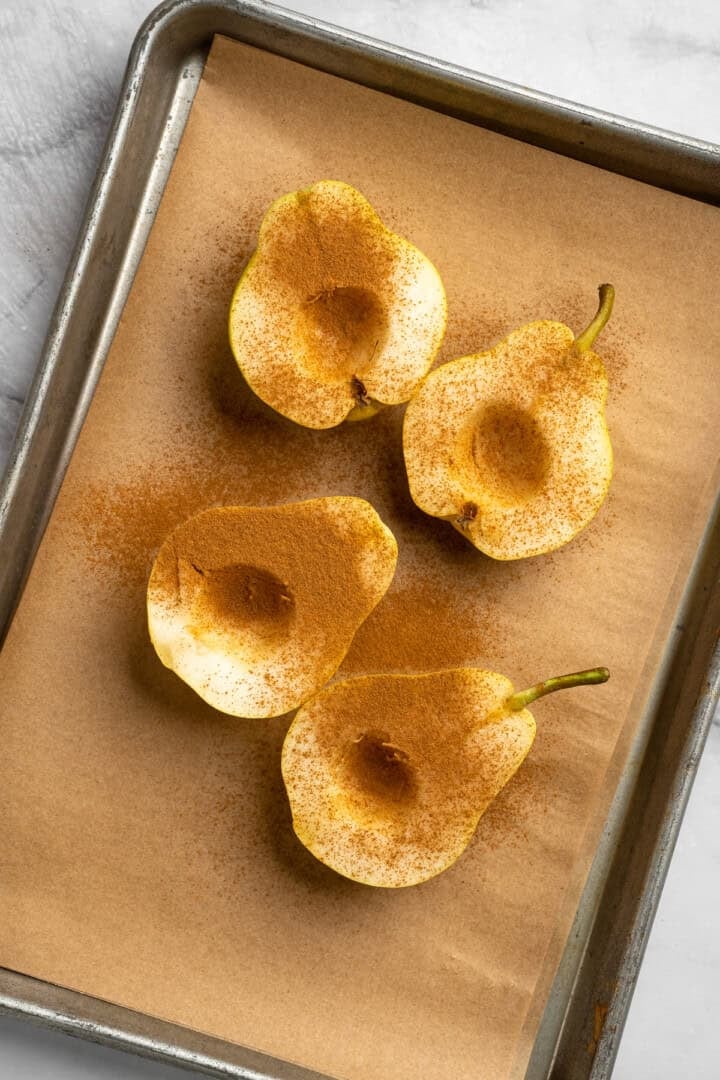
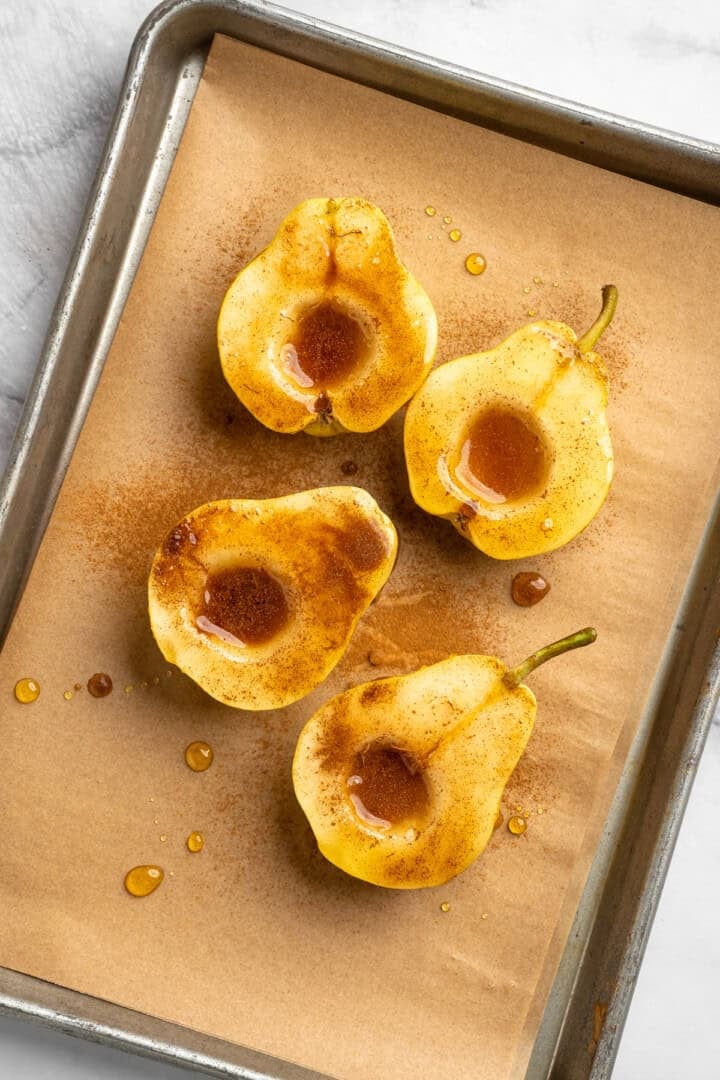
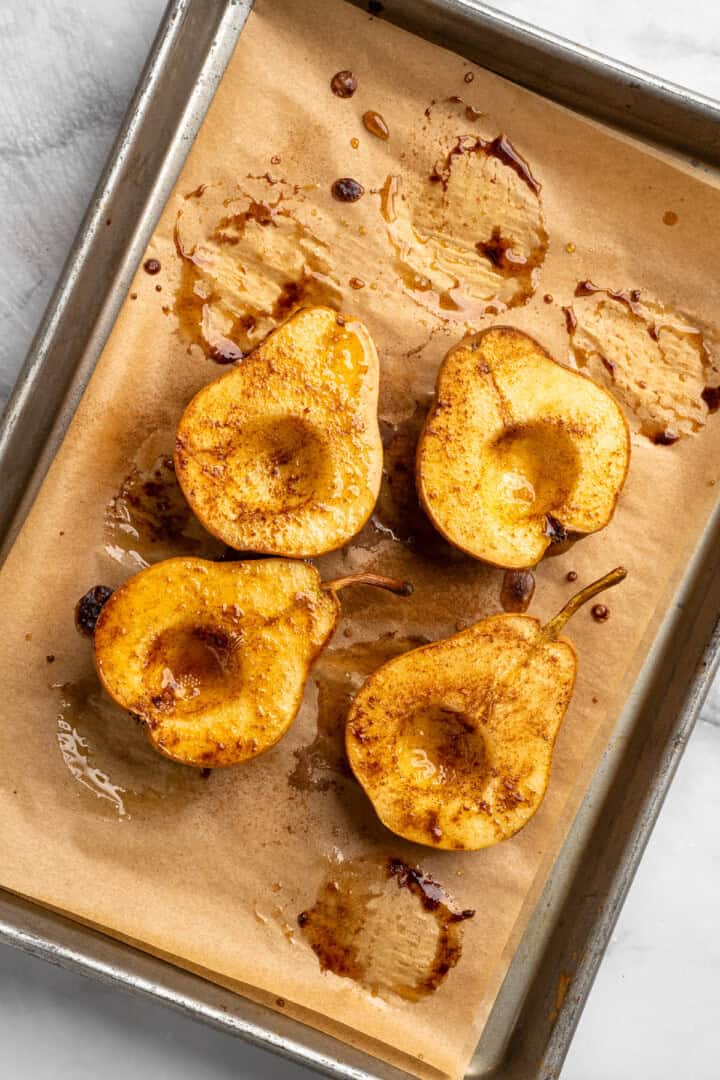
- Season. Sprinkle the pears with cinnamon and drizzle them with maple syrup.
- Bake. Bake for 20-25 minutes.
- Serve. Let the pears cool slightly before topping with granola and coconut cream (if using). Serve warm.
Success Tips
In order to get these cinnamon baked pears just right, have a look at the following tips and tricks. They’ll set you in the right direction:
- Choose your pears wisely. Select pears that are ripe, but not over-ripe. If they are too soft, they will turn out mushy.
- An even stance. If the pears aren’t standing up well on the baking sheet, cut a little bit off the bottom of each so they stay steady.
- Adjust the baking time as needed. If you start with firmer pears, they may need a few extra minutes in the oven. If you’re using inherently softer pears, such as a Bartlett, or if your pears are very ripe, they may need less time. Use a fork to test for doneness. The fruit should be very tender and easy to pierce.
- Broil if you’d like. If you’d like a more caramelized finish, you can pop the pears under the broiler for a couple of minutes before removing them from the oven. Just keep an eye on them so they don’t burn.
- Cool slightly. Let the pears cool for a few minutes before topping and serving. This will allow the juices to sort of settle back into the pears and help keep the coconut cream from melting into a puddle.
What to Serve With Baked Pears
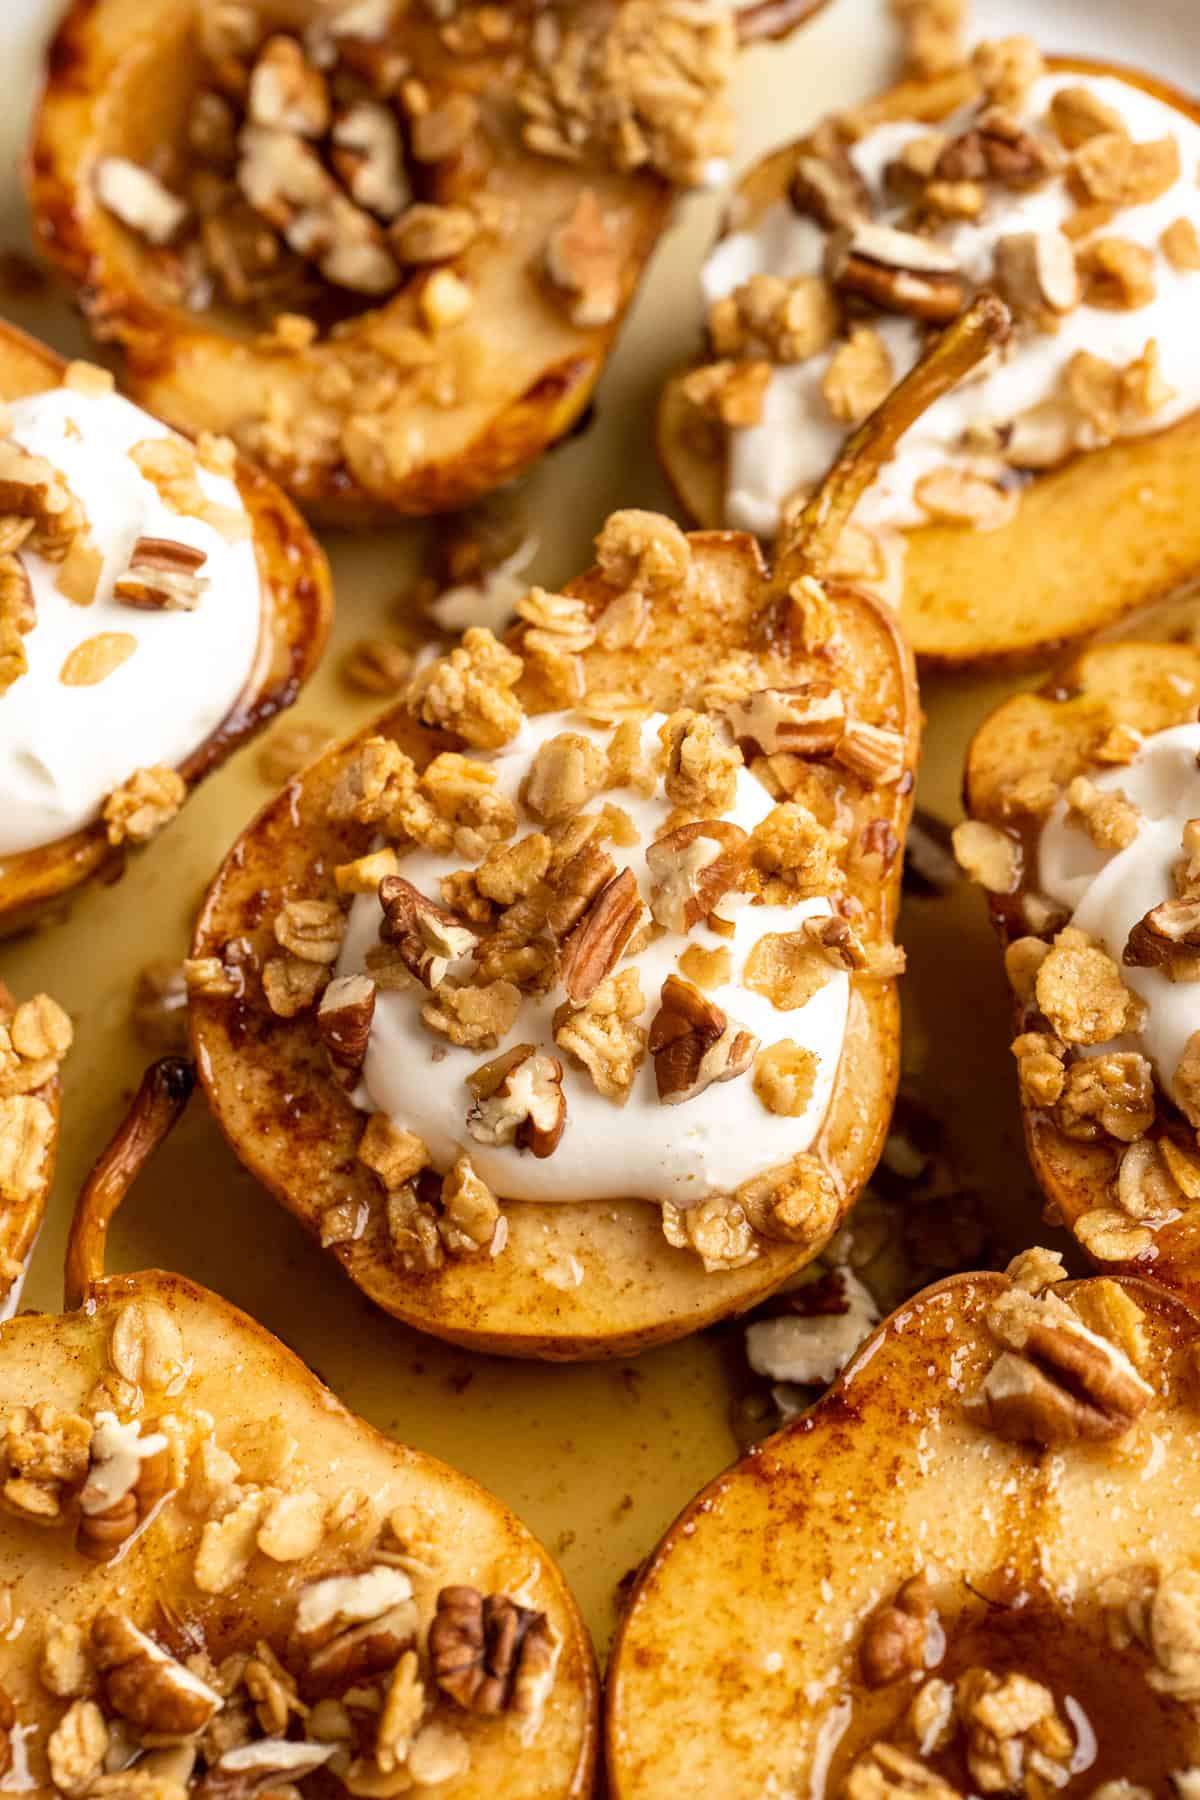
This simple, fall-friendly dessert is fabulous as is, topped with granola and coconut cream (or just as is, honestly). If you want to doll them up a little more (or a little differently), though, you can scoop some vegan ice cream over the top. Simple Vanilla Ice Cream or coconut ice cream would be my top picks. Coconut Whipped Cream or Cashew Whipped Cream would also be fabulous.
For crunch, the Pumpkin Granola in the original recipe is great, but I’ve also tried Candied Pecans and all sorts of toasted nuts. If you want to sweeten things up a bit more, consider a drizzle of Pumpkin Spice Syrup, Date Syrup, or Caramel Sauce.
If you want to get out of dessert territory, you could serve these baked pears for breakfast over your morning bowl of Pumpkin Pie Overnight Oats (or Apple Pie Overnight Oats) with a dollop of Homemade Vegan Yogurt. Why not?
Storage and Reheating
- Refrigerator: You can store fully cooled baked pears (without the toppings) in an airtight container in the fridge for up to 4 days.
- Freezer: Allow the pears to cool completely before sealing them in a freezer-safe airtight container (without the toppings). You can freeze them for up to 2 months, then thaw them in the fridge. Expect them to be a bit more watery/mealy upon thawing.
- To reheat: Arrange the baked pears on a baking sheet, cover with aluminium foil, and bake at 350°F (180°C) for 10 minutes or until heated through. You can also microwave baked pears in 30-second intervals until warm. Serve with fresh coconut cream and granola.
More Fall Baking Recipes
I think fall is my favourite season for baking. Here are a few more recipes you might want to check out:
- Upside Down Apple Cake
- Vegan Pumpkin Cheesecake
- Apple Crisp
- Pumpkin Bread With Cream Cheese Frosting
- Apple Streusel Muffins
Enjoy friends! If you make this cinnamon baked pears recipe, please snap a photo and tag #jessicainthekitchen on Instagram! We’d also love it if you would leave a comment below and give the recipe a rating! Thanks so much!


Cinnamon Baked Pears (Vegan)
Ingredients
- 2 pears washed, cut in half and cored
- 1 teaspoon cinnamon 3g
- 1 teaspoon maple syrup 5ml
- Pumpkin Spice Granola for topping
- Coconut cream for topping
Instructions
-
Preheat oven to 350°F (180°C).
-
Place cored pears on a baking sheet. If they aren’t even, cut off a bit of the bottom of the pear so that it stands up straight.
-
Sprinkle evenly with cinnamon, and then with maple syrup.
-
Place in oven for 20 to 25 minutes to bake.
-
Remove and allow to cool slightly. Top with your favourite toppings and enjoy!
Notes
- Choose your pears wisely. Select ripe, but not overripe pears. If they are too soft, they will turn out mushy.
- An even stance. Cut a little bit off the bottom of each pear so they stand steady on the baking sheet.
- Adjust the baking time as needed. For firmer pears, bake a little longer. For softer pears, bake for less time.
- Cool slightly. Let the pears cool for a few minutes before topping and serving so the juices get a chance to settle and the coconut cream doesn’t melt.
- Storage. Store fully cooled baked pears (without the toppings) in an airtight container in the fridge for up to 4 days or in the freezer for up to 2 months. Thaw in the fridge and reheat (covered) in the oven at 350°F (180°C) for 10 minutes. Serve with fresh coconut cream and granola.